
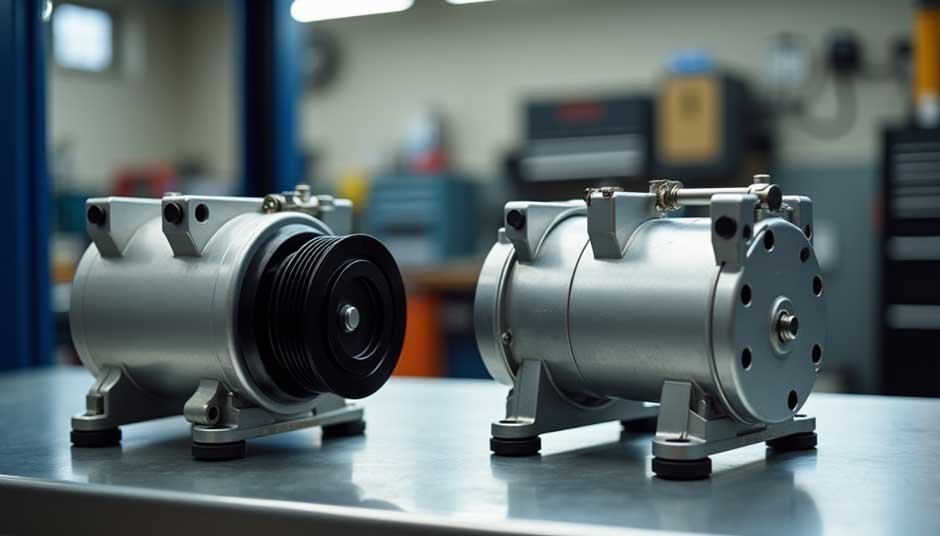
The SD7H15 compressor packs more cooling power than the five-cylinder Sanden 508, thanks to its seven-cylinder design. The SD7H15 needs more horsepower per rotation, but it makes up for this with better efficiency and less engine drag compared to the SD508.
You can’t just plug and play when switching from a Sanden 508 to an SD7H15. Large vehicles like school busses and semi-trucks commonly use the SD7H15, and you’ll need to think over your system’s specs carefully. Your vehicle’s air conditioning performance will see a big boost since cooling capacities can reach up to 20,000 BTU/Hr in some setups.
Let’s look at everything you should think over before trying a Sanden 508 to SD7 swap. This will help you figure out if this upgrade fits your vehicle’s needs.
Performance Benefits of SD7 Upgrade
The new improved SD7 compressor significantly boosts your vehicle’s cooling system performance. Latest SD7 models deliver 15-20% more cooling capacity than standard versions. This comes from better refrigerant gas flow and reduced gas re-expansion.
You’ll notice several advanced engineering features in the improved SD7. The newer version keeps the same outer dimensions as the standard SD7H15. This makes it perfect for systems that typically use 170cc to 210cc A/C compressors. The SD7’s seven-cylinder design brings several key improvements:
- Higher sustained RPM capabilities
- Reduced engine strain
- Better gas flow efficiency
- Improved system reliability
The FLX7 series represents the next step in SD7’s progress. It comes with heavy-duty clutch bearings, a clutch diode, and a pressure relief valve. The improved SD7’s design changes have also led to better NVH (Noise, Vibration, Harshness) performance.
The SD7E ‘improved’ version matches larger 210cc competitor products in high-performance applications. It really shines when you have challenging conditions and delivers efficient cooling without the extra weight of bigger units. The SD7 can reach maximum RPMs of 9,300 during peak operation, which ensures reliable cooling in all types of driving conditions.
Critical System Considerations
System specifications play a significant part in a successful SD7 compressor installation. The SD7 works within specific pressure and temperature parameters that we need to keep in check.
The discharge gas conditions need careful monitoring to perform well. The system should stay below 300 psig to work long-term. The discharge temperature must not go over 280°F during regular operation, though brief peaks up to 300°F are fine.
The SD7 needs these exact operating conditions:
- Minimum suction pressure: 6 psig up to 4000 rpm
- Operating temperature range: 32°F to 200°F
- Clutch voltage requirement: minimum 11.5 VDC for 12V systems
- Maximum sustained RPM: 6000
System cleanliness is key to reliability. The whole AC system needs a 45-minute evacuation process with a good vacuum pump during the swap. A new receiver drier helps ensure better moisture absorption and contamination control.
The compressor’s placement needs careful thought because of heat exposure. The unit should stay away from high-heat areas like turbochargers or exhaust manifolds – too much heat can damage sealing components. The condenser size matters a lot – an undersized one can push discharge pressures above 200 psi at idle.
Post-Installation Optimization
Your SD7 installation needs complete system testing to work at its best. The first step is a rotation test. Turn the compressor shaft clockwise and check that it moves smoothly without any binding or catching.
You just need to test the pressure accurately. The process starts by connecting gage sets to both suction and discharge service valves. Next, pressurize the system with nitrogen. The pressure should stay between 300-350 psig for at least 10 minutes.
Let’s get into these critical areas to check for leaks:
- Shaft seal area between clutch and compressor
- Cylinder head gaskets and service valves
- Oil plug and compressor body
- Front housing O-ring integrity
Your electronic leak detectors must work with R134a. The older R-12 detectors won’t catch R134a leaks. This is a big deal as it means that 1.0 oz/year is the maximum acceptable leak rate. For fleet vehicles or high-performance setups, some owners also use S5 trackers to monitor system efficiency and detect potential failures early, helping prevent costly downtime.
The clutch system’s adjustment requires precision. The air gap should be 0.016-0.031 inches (0.4-0.8mm). Make sure the clutch pulls 3.6-4.2A at 12VDC. We tested the oil level by running the compressor at idle for 10 minutes before checking.
The low-side pressure must stay above 6 psig to cool effectively. Your compressor needs enough pressure on the suction side. This prevents refrigerant from falling below the -2°C trip point. Regular checks of these values will give a consistent and reliable cooling performance from your SD7 swap.
Conclusion
The upgrade from a Sanden 508 to an SD7H15 compressor just needs careful planning and precise execution. This swap calls for technical expertise, but the better cooling capacity and improved efficiency make it a worthwhile choice for many applications.
Your success depends on proper system specs and strict installation steps. The system will give reliable operation when you pay attention to pressure levels, temperature settings, and keep it clean. On top of that, it helps to test everything after installation to confirm your upgrade works right.
Note that you’ll get the best results by matching the SD7’s power to your vehicle’s needs. The SD7 delivers better cooling power in tough conditions, but you must integrate it properly into your system. Peak performance and longer system life come from watching the operating parameters after installation.
This upgrade path will boost performance if you put in the time to install and optimize it right. The SD7’s solid performance in heavy-duty use and its improved efficiency make it a great choice when you want better cooling power.
FAQs
Q1. What are the main advantages of upgrading from a Sanden 508 to an SD7 compressor? The SD7 offers 15-20% more cooling capacity, higher sustained RPM capabilities, reduced engine strain, and improved overall system reliability. It’s particularly effective in high-demand applications and provides better cooling efficiency without the weight penalty of larger units.
Q2. What are the critical system considerations for installing an SD7 compressor? Key considerations include maintaining proper pressure levels (below 300 psig for long-term operation), monitoring discharge temperature (not exceeding 280°F for continuous operation), ensuring adequate condenser sizing, and keeping the compressor away from high-heat areas like turbochargers or exhaust manifolds.
Q3. How should I test the system after installing an SD7 compressor? After installation, conduct a rotation test by turning the compressor shaft clockwise. Perform pressure testing by pressurizing the system with nitrogen to 300-350 psig for at least 10 minutes. Use an R134a-compatible electronic leak detector to check for leaks, ensuring the leak rate doesn’t exceed 1.0 oz/year.
Q4. What are the optimal operating conditions for an SD7 compressor? The SD7 operates best with a minimum suction pressure of 6 psig up to 4000 rpm, an operating temperature range of 32°F to 200°F, and a clutch voltage of minimum 11.5 VDC for 12V systems. The maximum sustained RPM should not exceed 6000.
Q5. How does the mounting of an SD7 compressor differ from other models? SD7 compressors can be mounted at a maximum of 90 degrees to either the left or right of the oil plug. This flexibility allows for various installation configurations, but it’s crucial to maintain proper orientation for optimal oil distribution and compressor performance.