
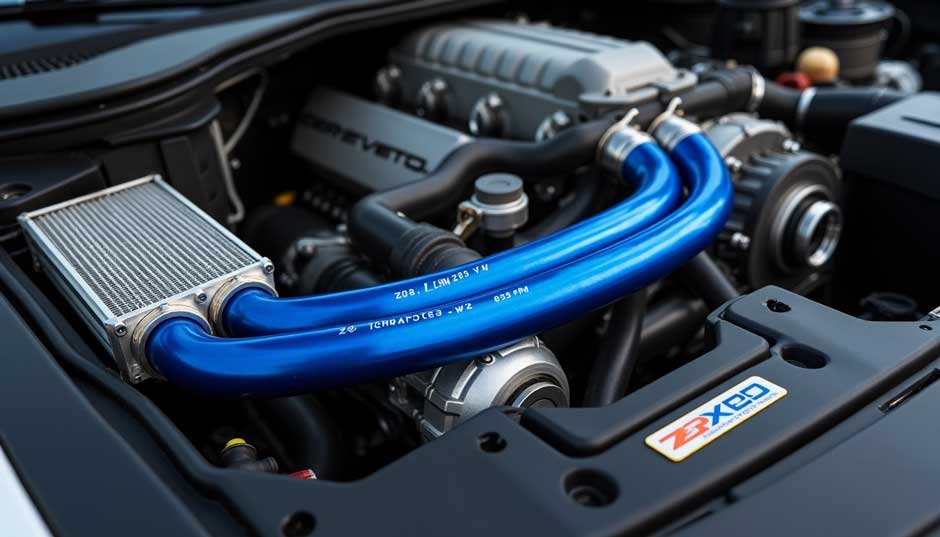
The 2019 Chevrolet Corvette ZR1 packs a monstrous 755-horsepower supercharged V8 engine, making it the most powerful front-engine Corvette ever built. The incredible power output demands exceptional cooling through a network of 13 heat exchangers.
The c7 zr1 auxiliary radiator plumbing diagram plays a vital role in proper installation and maintenance. Our experience shows that a successful installation needs precise measurements and accurate template placement that ensures optimal coolant flow. This piece will guide you through everything you need to know about installing your auxiliary radiator the right way.
Understanding Your C7 ZR1 Cooling System
The C7 ZR1’s cooling system marks a most important engineering breakthrough with four more heat exchangers than its predecessor. A sophisticated network of radiators and heat exchangers sits at its core. Engineers designed this network to handle the extreme temperatures from the LT5 engine.
Almost the entire front end of the ZR1 features cooling openings after extensive modifications to optimize airflow. This design directs cool air exactly where it needs to go. The system has a larger intercooler mounted on top of the supercharger that sits three inches higher than the Z06’s setup.
The ZR1’s cooling system stands out because of its thorough validation process. Earlier models saw testing at 87 degrees Fahrenheit. The ZR1’s system went through testing at temperatures up to 212 degrees Fahrenheit. This largest longitudinal study guarantees reliable performance during extended track sessions.
The auxiliary radiator system matches OEM specifications with quick-disconnect fittings. This choice makes installation easier without compromising factory-level reliability. Short fin core technology delivers steady performance in tough conditions on streets and tracks alike.
The system’s ability to maintain perfect operating temperatures makes it special. The transmission fluid works best between 175-220 degrees Fahrenheit. The fluid becomes too thick when temperatures drop below 165 degrees and can strain seals and valves. Temperatures above 230 degrees thin the fluid too much and lead to increased wear.
The auxiliary radiator teams up with the main radiator and heat exchanger. This all-encompassing approach creates a complete cooling solution that works especially when you have high-performance driving scenarios. The system’s efficiency jumps 100% compared to the OEM heat exchanger. This big deal means that optimal temperature control remains steady even in extreme conditions.
Step-by-Step Installation Guide
You’ll need careful attention to detail when installing an auxiliary radiator in your C7 ZR1. The job requires basic tools: a ¼-inch nut driver, ¼-inch drill bit, 5mm Allen wrench, flat blade screwdriver, and a utility knife or cut-off tool.
Start by removing the surge tank cap and draining the radiator to avoid coolant spills. Remove all screws to detach both front and rear skid plates. The radiator drain valve will be visible – attach a hose to catch remaining coolant in a bucket.
Look for the heat exchanger cover and use the plastic’s crease as your reference point for marking. Make marks 3 inches forward from this line on both sides. Draw cut lines between these marks and ensure your corner angles are exact.
The kit’s paper template will help you place everything correctly. Tape it along your reference line’s bottom edge. The template’s inner vertical lines should match up with the plastic cover’s molded lines – these show where the cooler tanks sit inside.
Take your time to cut out the marked section with a pneumatic cutting tool or hacksaw blade. Watch out for the existing heat exchanger while cutting. Test fit the cooler to check if your holes and corners are right.
The next step needs you to drill ¼-inch holes where marked and install retainer clips. Bolt the cooler in place with its outlets facing the driver’s side once everything lines up. Your kit should have two different hose connectors: a 90-degree elbow for the radiator and a straight one for the oil cooler.
Use the 24-inch hose to connect the straight connector at the furthest point. Then connect the 18-inch hose between the closest point and the 90-degree fitting. Make sure all hoses run above the cross member with proper clearance and tight clamps.
Put the skid plates back on, starting with the rear. The kit comes complete with everything you need: the auxiliary radiator, pre-cut hoses, six hose clamps, fittings, retainers, clips, and mounting hardware.
Proper Coolant Flow Setup
Your C7 ZR1’s auxiliary radiator system just needs careful attention to detail for proper coolant flow. The auxiliary radiator connects between the engine’s oil cooler outlet and main radiator inlet, and the pre-cut heater hose will give a smooth installation.
The coolant follows a specific route. It flows from the oil cooler outlet hose to the auxiliary radiator’s rearward pipe. It also runs from the forward pipe back to the open inlet on the radiator’s lower left side. This arrangement puts the auxiliary radiator in series with the oil cooler coolant flow to improve cooling efficiency.
Air bleeding plays a vital role in the setup. Air pockets can reduce heat transfer by a lot – just 2% air cuts efficiency by 8%, and 4% air drops heat transfer ability by 38%. The front of the car needs to be about 6 inches higher than the left side to remove these air pockets.
You’ll need several bleeding cycles to get the best performance. Watch the engine after starting until an auxiliary radiator outlet hose near the inlet connector warms up or coolant temperature hits 185°F (85°C). Then keep the engine at 3,000 RPM for exactly 10 minutes so coolant flow can push out any remaining air pockets.
Let the system cool for at least an hour after the original run. This cooling naturally drops the coolant level in the radiator surge tank and creates room for more coolant. The system holds 11.3 quarts total, so you need to watch the levels carefully while filling.
The improved cooling setup delivers amazing results with 100% better efficiency than the OEM heat exchanger. The larger core size also boosts heat dissipation by about 15% compared to stock setups. These improvements prevent the ECM’s coolant fault from triggering, which would otherwise limit engine performance until proper cooling happens.
Conclusion
The C7 ZR1 auxiliary radiator system needs proper understanding and installation to let loose the full potential of this 755-horsepower beast. This advanced cooling network handles extreme high-performance driving demands through careful installation steps and proper coolant flow setup.
The system’s capabilities are impressive. You get 100% more efficiency than the OEM heat exchanger and 15% better heat dissipation, which definitely makes the installation worth the effort. Your success depends on precise measurements, proper bleeding procedures, and careful attention to routing details.
Note that your ZR1’s performance directly relates to optimal coolant temperatures. A well-installed auxiliary radiator system prevents coolant faults that limit performance and ensures reliable operation during long track sessions. The installation needs patience and precision, but the performance gains make it a valuable upgrade for C7 ZR1 owners.